Before you read the rest of this post, the answer is ‘probably not’. But if you are into masochistic stitching, enjoy finding yourself tangled in swathes of fabric and don’t mind being found gibbering over your sewing machine as you try to work out whether a different tension would make ALL the difference, then maybe you’d like to have a go. We concluded that the cost of screens from the main suppliers is actually pretty fair value considering cost of materials, labour and expertise.
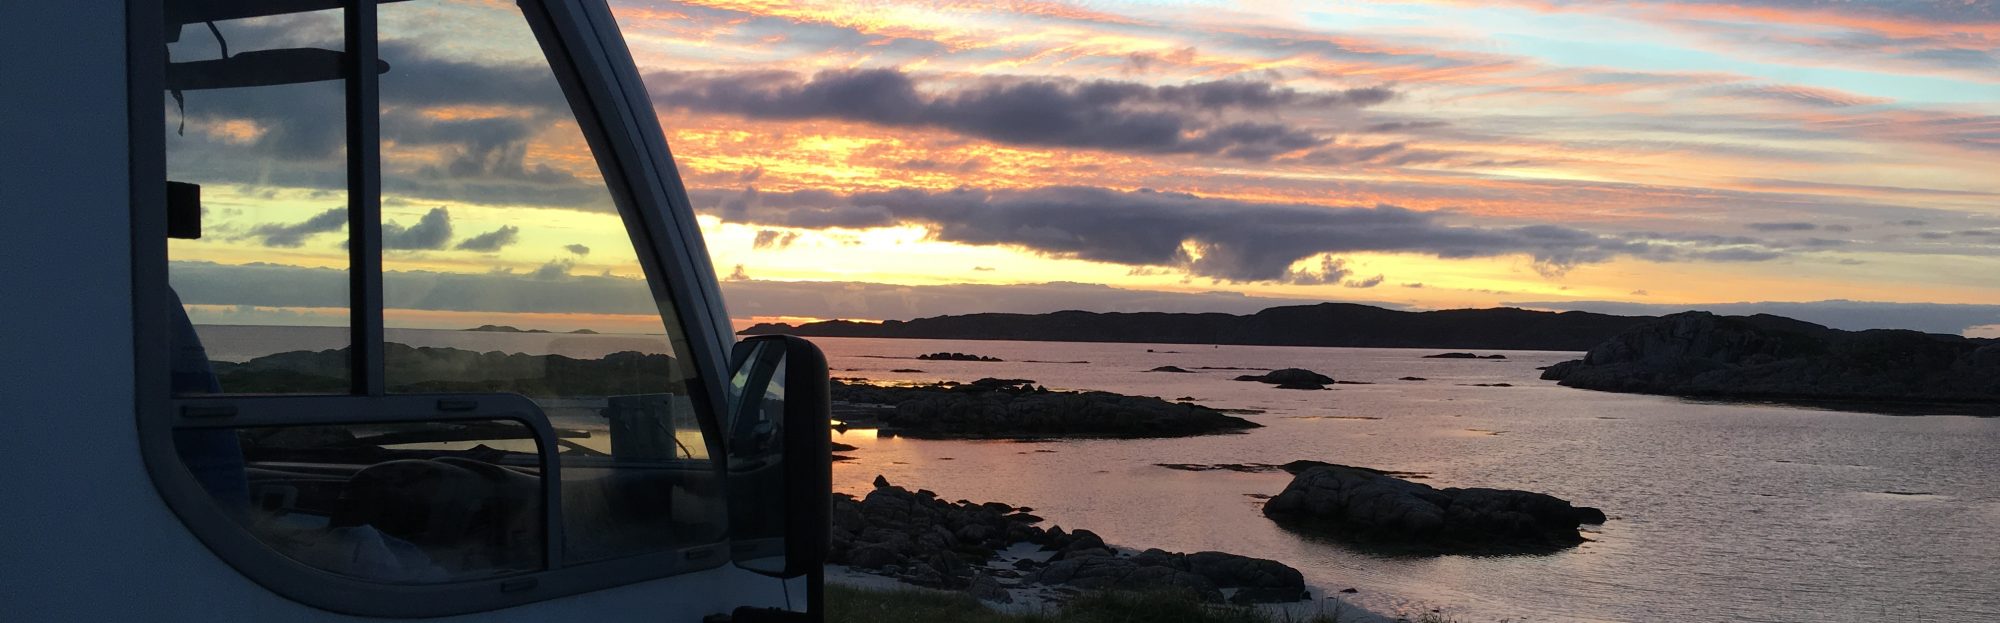
While we were planning our ski break we decided that we would make some external screens for our motorhome. Our motorhome is pretty well insulated, but the front cab area (windscreen and side windows) consists of a lot of single glazed glass and it is significantly colder than the rest of the van. Even with our internal blinds up you can feel the difference between my seating area, toasty and warm in the middle of the van, and Paul’s zone in the chilly seats at the front.
External thermal screens are the tried and tested way of adding an extra layer of insulation and they have the added advantage of reducing condensation build up. Mopping up condensation is one of our regular tedious morning chores and we would be happy to give it a miss. Some people also use them in the summer to keep the cool air in and reflect away the worst of the sun’s glare.
We did a bit of investigation and found that, because we have an old A-class motorhome, we would not be able to buy any thermal screens ready made. We would need a set tailored to our shape. At around £270 plus for some custom made screens we thought we would give it a miss. Cue a lot of google searching to see if we could make some ourselves and a headlong rush into a couple of days wrestling with ripstop and bubble wrap.
Now we finally have some thermal screens, and if you are mad enough to try making them yourselves too then this is how we did it.
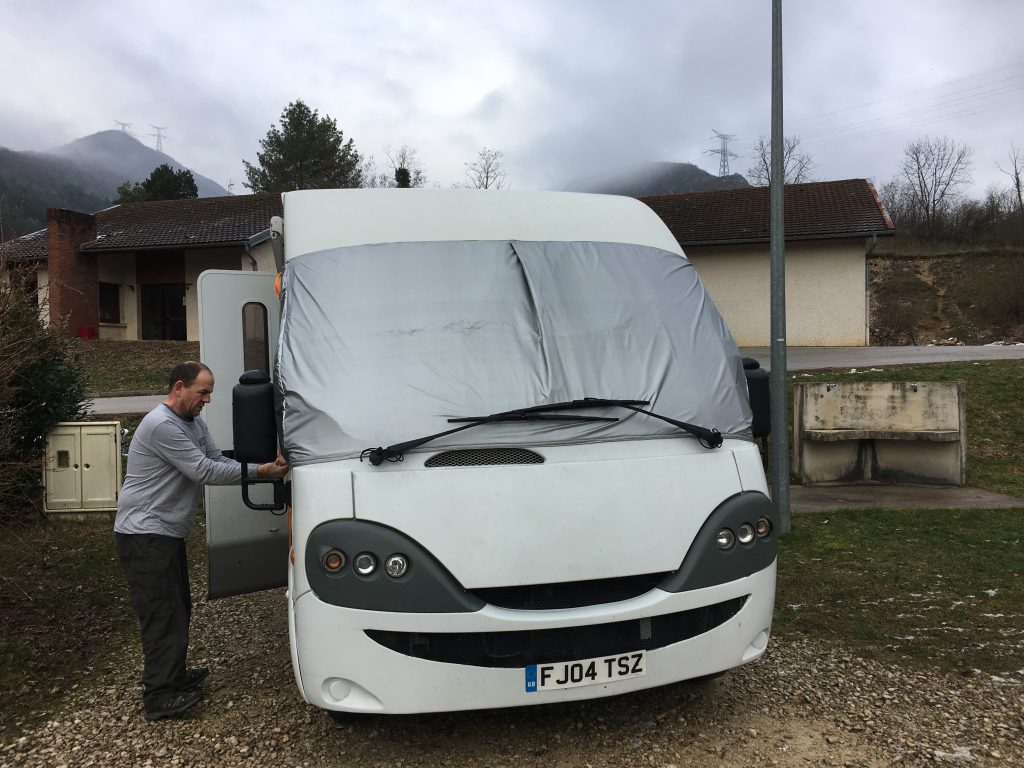
The end result- complete with it’s special pleat ‘design feature’
Our screens cover the front and side windows of the motorhome, they sit just above the wipers (which can sit inside or out) and wing mirror mounts. On the driver’s side we decided that we would follow the usual construction method for thermal screens and secure them by trapping the screen in the driver’s door. On the passenger side we are using straps to hold them in place rather than the usual solution of trapping the edge in the sliding window.
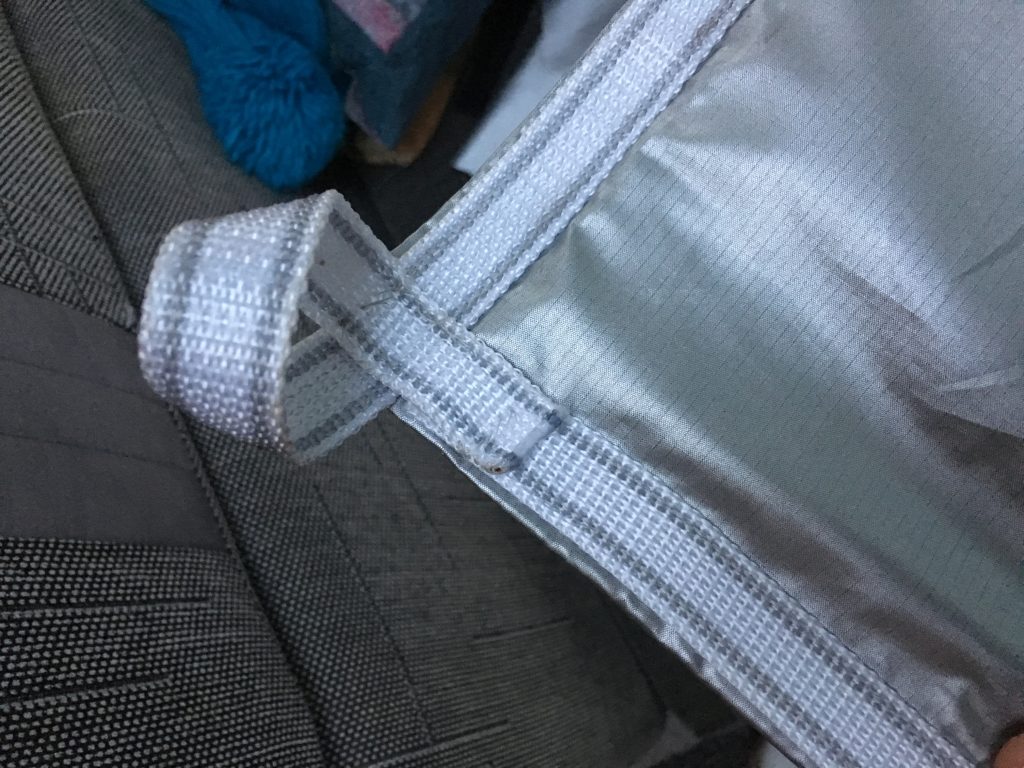
The materials we used were two layers of ripstop nylon, with a layer of foil backed bubble wrap – the sort of stuff you get to go behind radiators – in the middle. In hindsight it would be easier to work with wadding rather than bubble wrap between the layers of ripstop as it all gets a bit slippery and uncontrollable. To improve the strength of the edges I sewed webbing straps along each edge and used their ends to make small loops which could be used to help hold the screens in place. We also made ties out of cord which can be used to tie the screens to the wipers and wing mirrors.
Paul likes to be belt and braces – we’ll be prepared for strong winds
Total cost of materials: £98.55 (total cost to sanity is immeasurable)
12m silver PU coated ripstop nylon: £52.80
24m foil insulation: £25
Reel of polyester thread: £4.95
4 x 5.5m webbing straps: £15.80
I used a normal domestic sewing machine set on the longest running stitch and used polyester thread. This was all set up on a large table, plus extra chairs and (when contriving an extension to the table) a large chopping board to help support the screens
Step 1: Measure, measure again and then measure some more. We spent quite a bit of time measuring the sides and front of the motorhome, we still managed to get it wrong (the top edge of the windscreen is shorter than the bottom edge and we had made it a perfect rectangle, hence our pleat in the front).
Step 2: Cut the three panels of insulation roughly to size, slightly too large, then use masking tape to stick it to the van and mark it up more accurately. Take it down and cut to size. This will be the middle of the sandwich, but also provides a template pattern for the ripstop.
Step 3: Use the templates to cut the ripstop to size, including a seam allowance.
Step 4: Sew the ripstop for each individual panel together to make an envelope that is open on one side (one of the sides where it will join to the other panels is easiest), slide the insulation inside.
Step 5: Before you go any further, use a basting stitch or basting tape to join the three panels together and then check that they sit nicely on the front of the van. Adjust if necessary (or alternatively omit this step and then find it doesn’t fit and you need to adjust the size after you’ve made it nearly impossible and then cry a little).
Step 6: Sew the panels together to make one enormous screen. At this point I thought I was losing my mind with the amount of fabric I was trying to deal with. It was so heavy that it made it really difficult to guide the fabric and meant I ended up with a lot of uneven stitching. With some help from my Nan we fashioned a prop to take most of the weight of the screens and then I used brute force to guide it under the presser foot.
Step 7: Measure the amount of fabric needed to trap the drivers side into the door – cut out two triangles and sew them together (so that you get neat edges – which may be the last thing on your mind by this point) before attaching to the side and top of the main screen. If you want this to be nice and neat you could do this as you assemble the panels. If you want to follow the tried and tested method of trapping the passenger side of the screen in the sliding window then do a similar thing on that side.
Step 8: Check it again on the motorhome. Does it fit? Or is it going in the bin?
Step 9: If you want to use some webbing to reinforce the edges of the screens then sew it on now with a line of stitching down each edge of the webbing. Use this line of stitching to ensure that the insulation layer is trapped in place between the two layers of nylon and avoid it sagging – if you don’t want to use the webbing (and it was very hard work to sew it on) then I would recommend sewing about an inch in from the edge around the whole thing to trap the insulation in place
Step 10: If you want to add cords to tie the screen to any available protruding part of the motorhome then make holes in the ripstop with a hot screwdriver (it will melt a hole but will not burst into flame – honestly). Thread some cord through the holes and there you go.
It should now be finished. Have a glass of wine or other therapeutic beverage of choice and vow to never so much as look at a sewing machine again!
p.s. it is very warm, which I suppose was the important thing